Simple Do It Yourself Backup with Google Cloud Storage
How to configure a simple backup with google cloud storage and powershell


Today I back up a few files from my home IT lab to the Google Cloud. It’s about a very simple backup with Google Cloud Storage for a Windows file server.
Create a Bucket
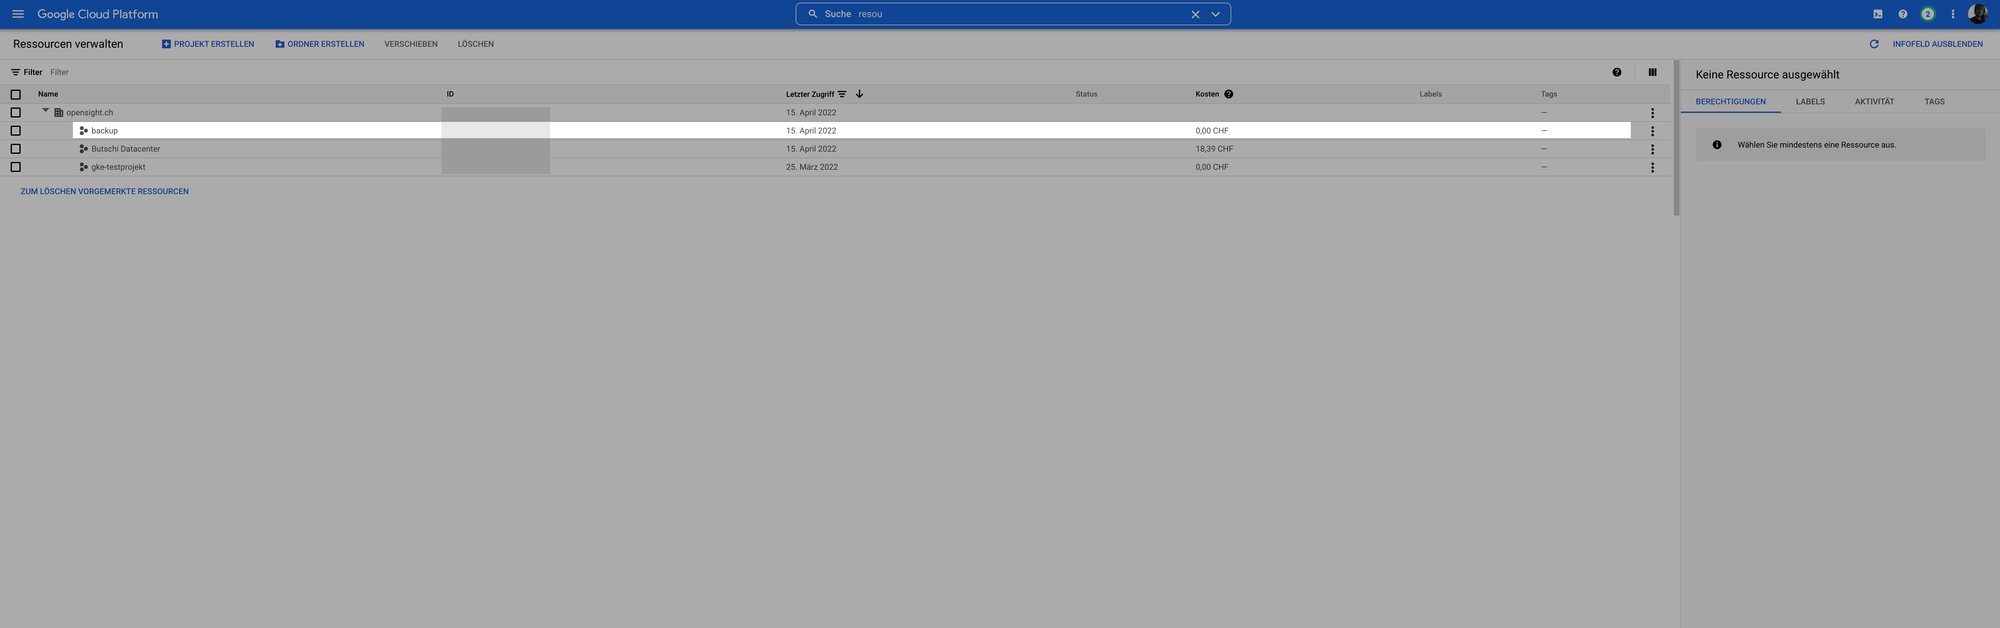
First we create a new project in the Google Cloud Console. To do this, enter “Resources” in the search bar and create a project. I just call mine “backup”.
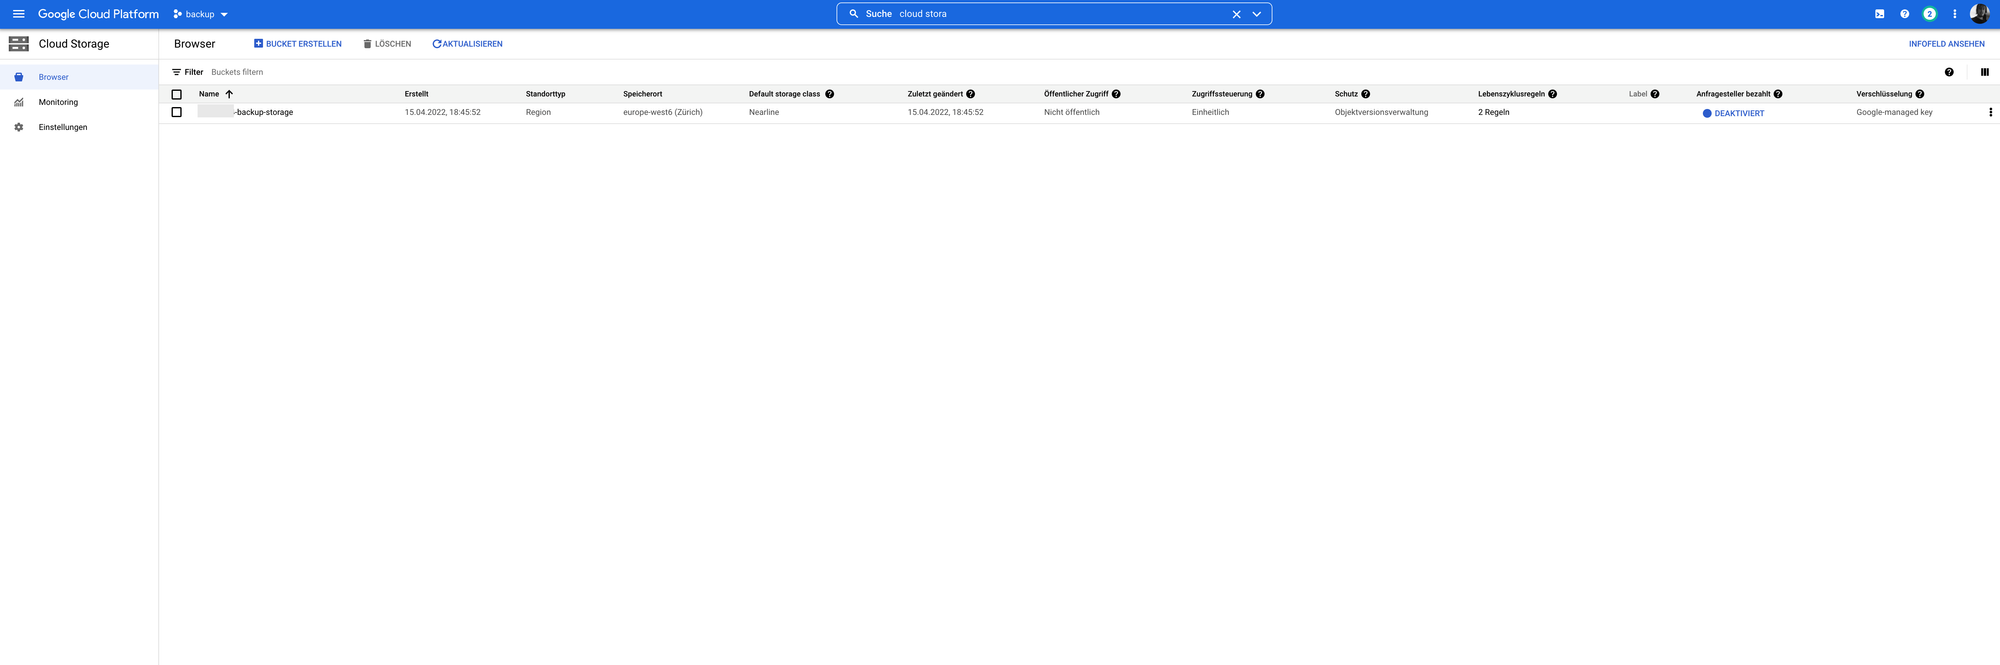
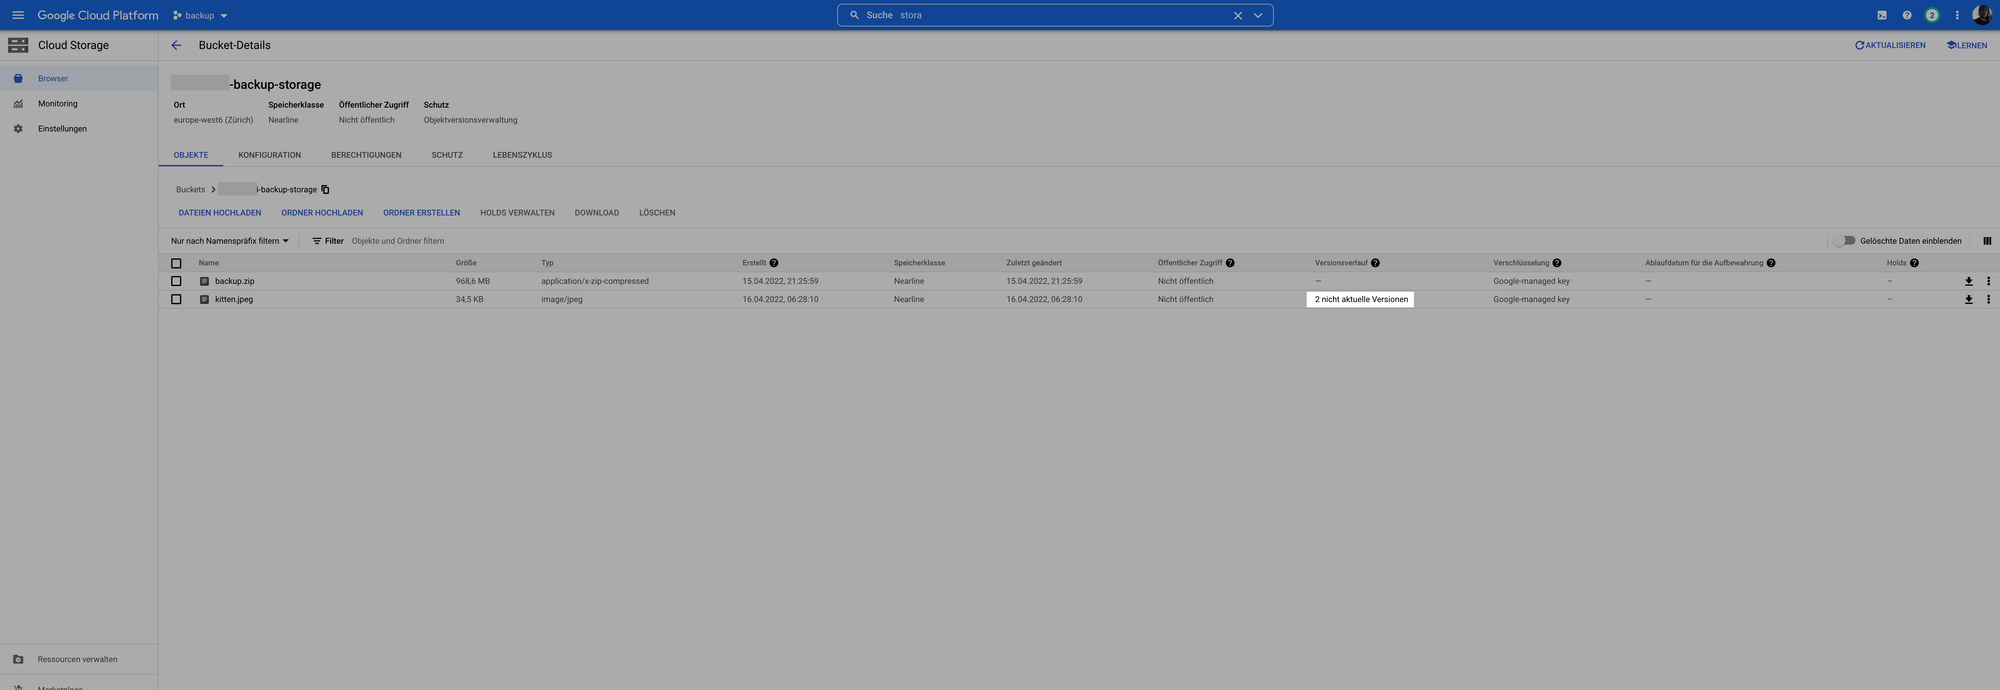
Now search for “Cloud Storage” in the search bar and create a new bucket. A globally unique name must be used. “Regional” storage is sufficient for our purposes and we are using “Nearline” storage for piloting. Since we will probably only need to access the data very rarely, we will create a coldline storage bucket after the pilot.
When creating the bucket, we enter that 3 previous versions of a file should be kept. This way we can later overwrite the backup file on the cloud storage (backup.zip) again and again.
Service Account
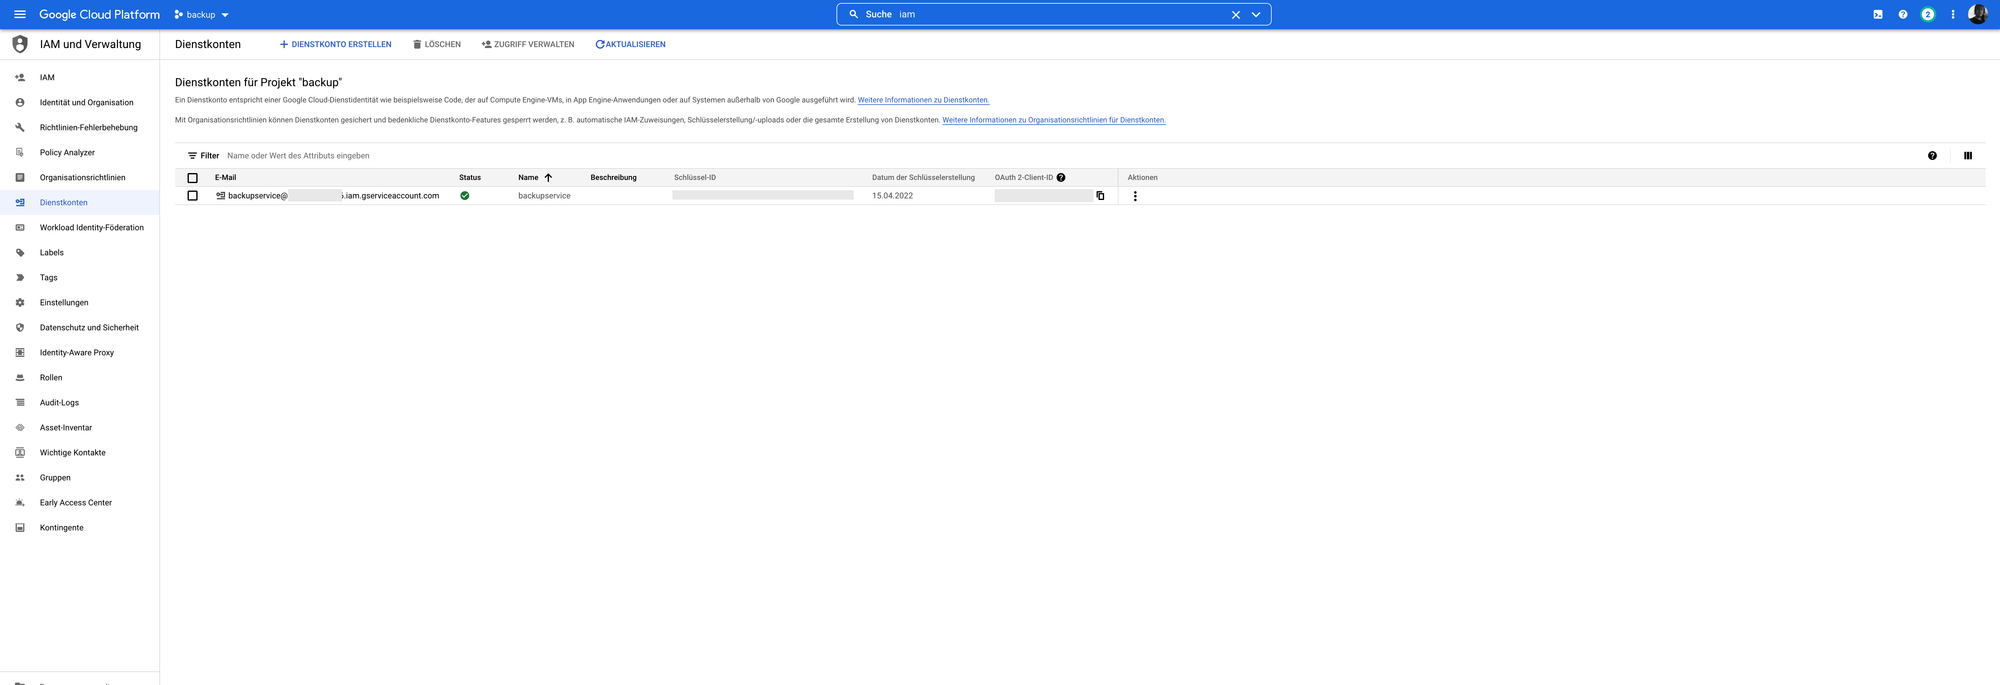
We create a service account to access the bucket. To do this, type IAM in the search bar at the top and click Service Accounts. Create a new service account and assign the Storage Administrator role. Create a new key on the account under “Keys”. The access data of the service account can now be downloaded as a file in JSON format.
The Google Cloud is now prepared so far. Now to the Windows server.
Backup Windows Server
The file with the access data for the service account is now stored on the Windows server (JSON). We set up a simple Scheduled Task to zip the files to be backed up and save them to Google Cloud.
GCloud Utility
First of all we need to make sure on the server that the GCloud tool is installed. I open a Powershell console with admin rights and enter:
import-module googlecloud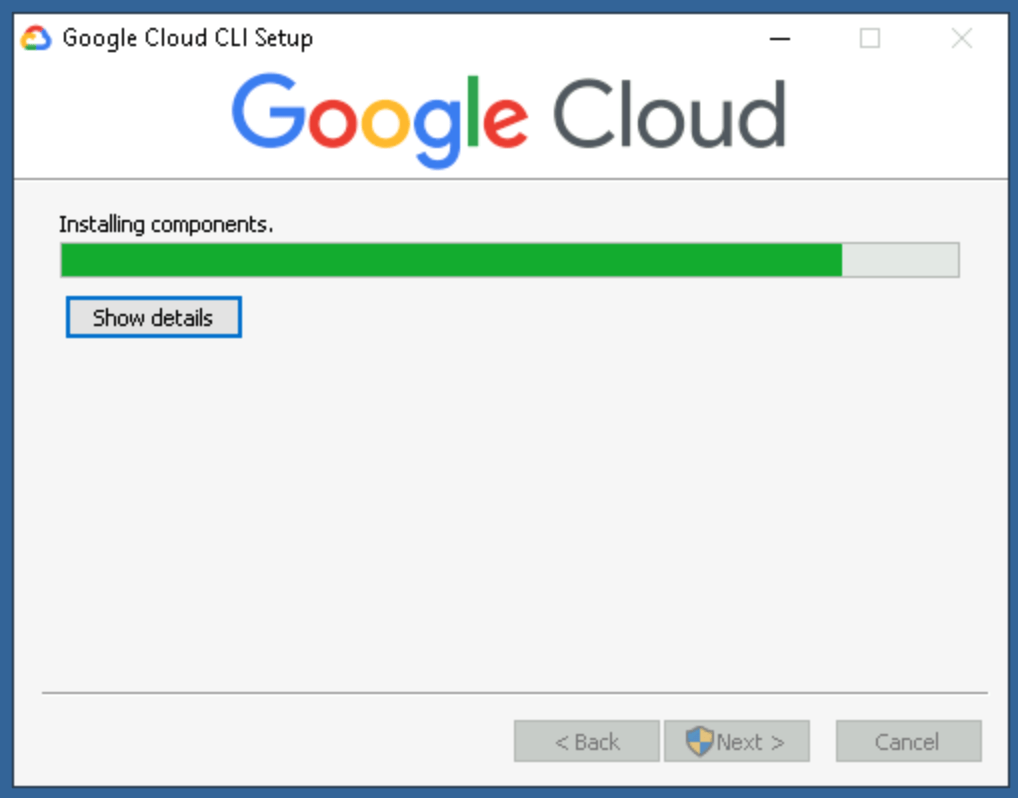
You do not have to log in, we will use the JSON file later. You can now upload a test file with the command:
gcloud auth activate-service-account backupservice@*******.iam.gserviceaccount.com --key-file="C:\backup\sa.json"

gsutil cp "C:\temp\kitten.jpeg" gs://*********-backup-storage/
If you overwrite the file, you will also see directly in the Google Cloud Console that the previous versions can be restored, according to how you defined it earlier.
With a script, which is entered as a scheduled task, we can now back up the desired folder to the Google Cloud and thus you have a simple backup with Google Cloud Storage.
echo "Backup: Kubernetes Persistent Volumes"
echo "Target: Google Cloud"

cmd.exe /c gcloud auth activate-service-account backupservice@*******.iam.gserviceaccount.com --key-file="C:\backup\sa.json"

del  "d:\backup.zip" /s /q
"C:\Program Files\7-Zip\7z.exe" a -spf -r  "d:\backup.zip" "E:\ordner-zum-sichern\*"

gsutil cp "d:\backup.zip" gs://*********-backup-storage/